In this lesson, you will learn:
- How to use the Align Model tool in D3Lab x64
- When and why to use the Align Model tool
Sections
- Starting the Align Model Tool
- Setting the Target Model
- Setting the Model to be Aligned
- Confirm Model Orientation
- Advanced Usage
Demonstration Videos
Align Model – Start Tool – [Step 1]
After running some tools or making changes to a model, sometimes it’s original orientation that was captured in the scan is lost. A common example is after using the “Model Builder” tool, where the resulting based models are no longer in the original occlusion. Since the main reason for basing models is to 3D print, maintaining the original orientation is often not necessary. However, if this is something you require, this tool allows you to closely reestablish the original established occlusion of the scans.
Starting any of the tools in D3Lab x64 begins with clicking on the tool name in the top “Menu” panel:
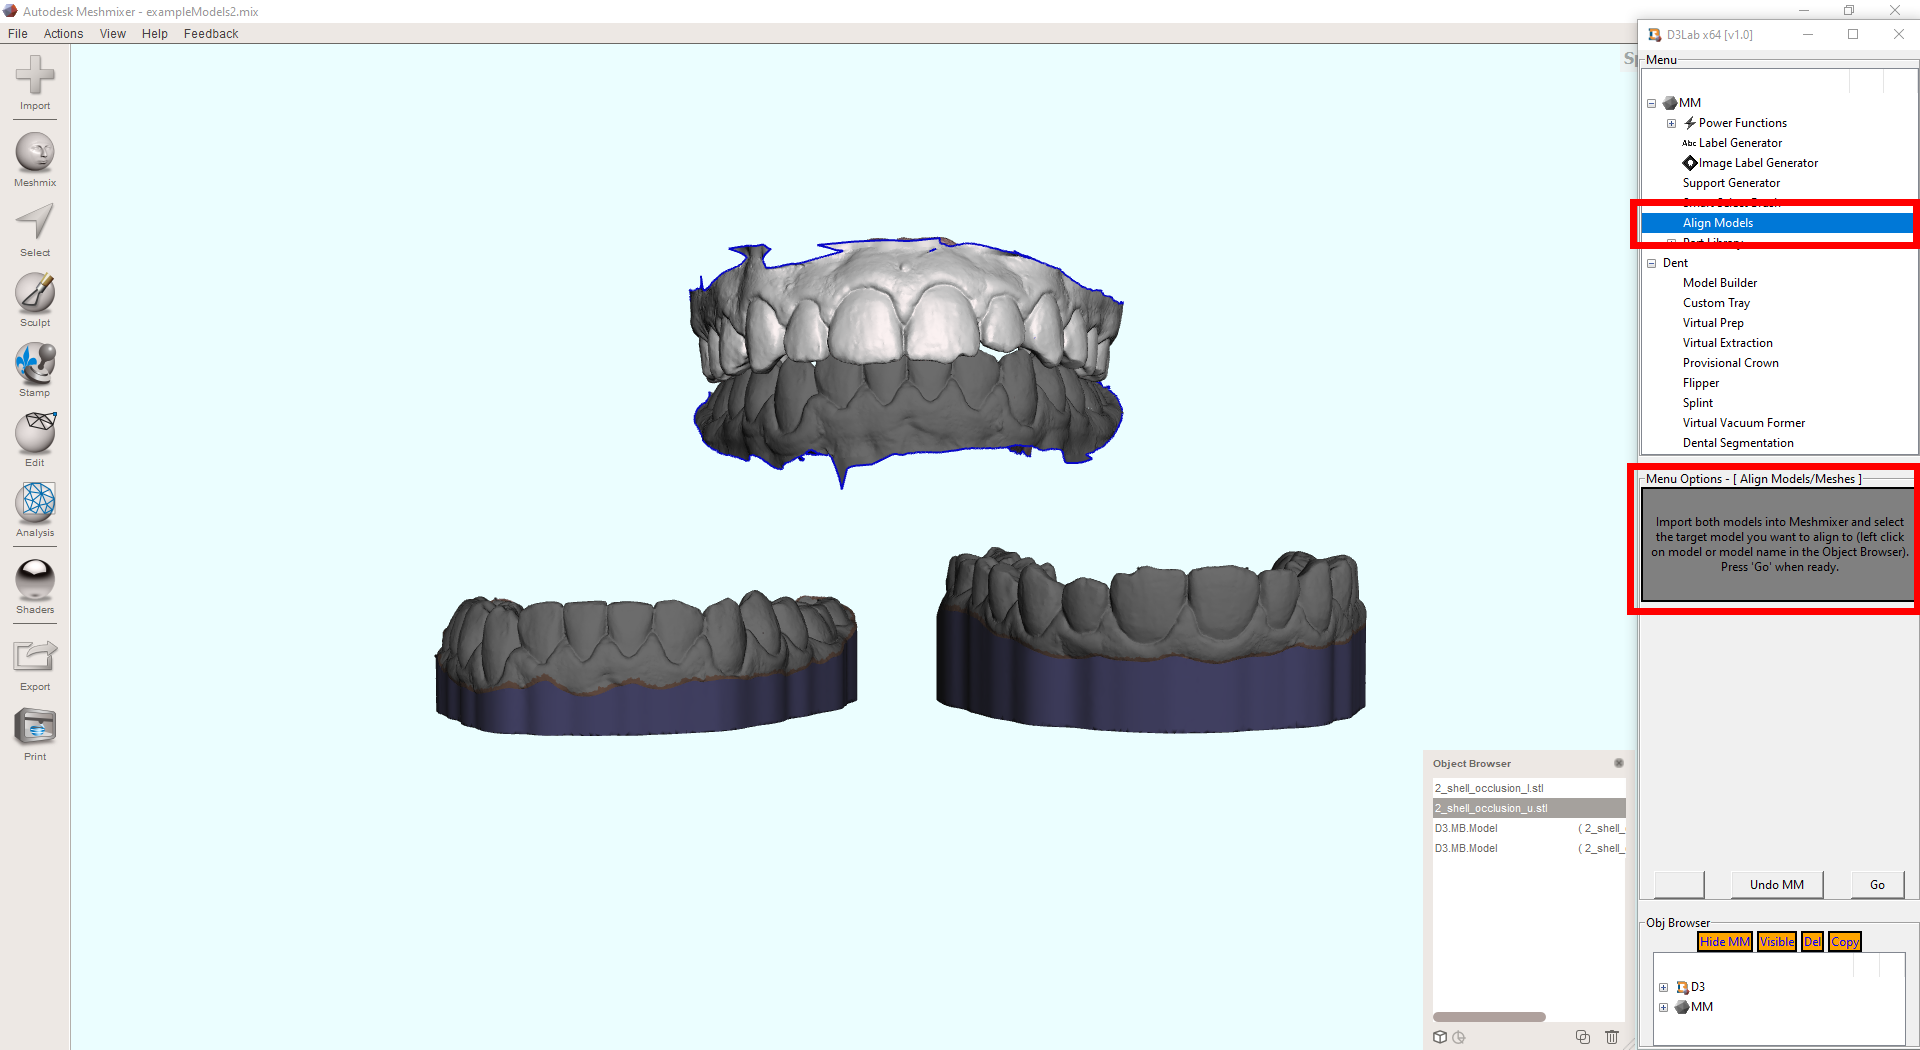
Align Model – Set Target – [Step 2]
The “Align Models” tool will always require two distinct models, both of which need to be loaded into Meshmixer. The directions immediately displayed after clicking on the “Align Models” tool asks us to select the “target model”, which you can do by single left clicking on the object. The target model is the one which you want to align to.
Align Model – Set Model to be Aligned – [Step 3]
Now that the target model has been set, you need to choose the model you want to align to the target model, which you can do by single left clicking.
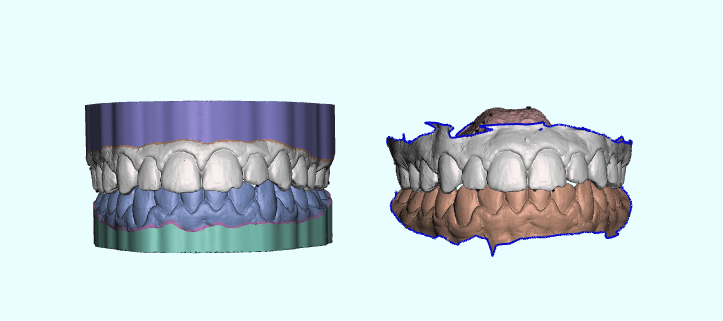
Align Model – Confirm Model Orientation – [Step 4]
Once both the target model and the model to be aligned have been set, the model to be aligned is automatically moved to the target and you are asked to double check the occlusal direction of the model to be aligned. If it is in the same occlusal orientation as the target, you can proceed to the next step and no actions are needed. If the model to be aligned is in the opposite occlusal orientation, it needs to be rotated 180 degrees before proceeding. This can be accomplished two different ways. First, you can use one of the three “Flip” buttons to attempt to automatically correct the orientation:
Secondly, you can use the “Manual Rotation” button to rotate the model yourself to match the target occlusal orientation:
Pressing “Next” will complete the alignment:

And once more for the lower arch:
Simply hide the original scans or move them to the side for a comparison:
Align Model – [Advanced]
The “Align Model” tool will most often be used in the scenario outlined above: basing models from scans and reestablishing the occlusion. However, the tool is designed to be a universal mesh alignment tool as well, which can come in handy in a lot of specific situations:
- Merging two scans of the same object
- Adding new scan to existing bite (TMJ/Dentures/Sleep)
Here are some videos that demonstrate how the tool works:
Video 1 – D3Lab x64 Model Builder and Model Alignment Demonstration
At the completion of this lesson, you should be able to:
- Realign a based model to it’s original IO scan
- Align or realign any two objects in Meshmixer using the Align tool in D3Lab x64