In this lesson, you will learn:
- How to use the Smart Select (Smart Segmentation) Brush in D3Lab x64
- When and why to use the Smart Select (Smart Segmentation) Brush
Preface
Sections
Demonstration Videos
General CAD Definitions:
- Topographical Segmentation – Segmentation of generic 3D models based off of topographical information like angles and surface area. The “Smart Select Brush” employs this technique in real-time as you are making your selection.
- Face Group – Meshmixer allows you to assign a tag to any triangle in the mesh. These tags are represented by colors in the application. A set of triangles with the same color tag is called a face group.
Tool Parameters:
- Reset Selection – A button that will clear the current selection and reset “Smart Select Brush”.
- Complete Selection – The button to press once you have selected at least 80-90% of the target tooth with the “Smart Select Brush”, that will complete the selection and generate a single face group for that selection.
Smart Select Brush – Starting the Brush – [Step 1]
Starting any of the tools in D3Lab x64 begins with clicking on the tool name in the top “Menu” panel. However, instead of the typical iteration through steps and entering parameters, a single pop up window is used to provide functionality:
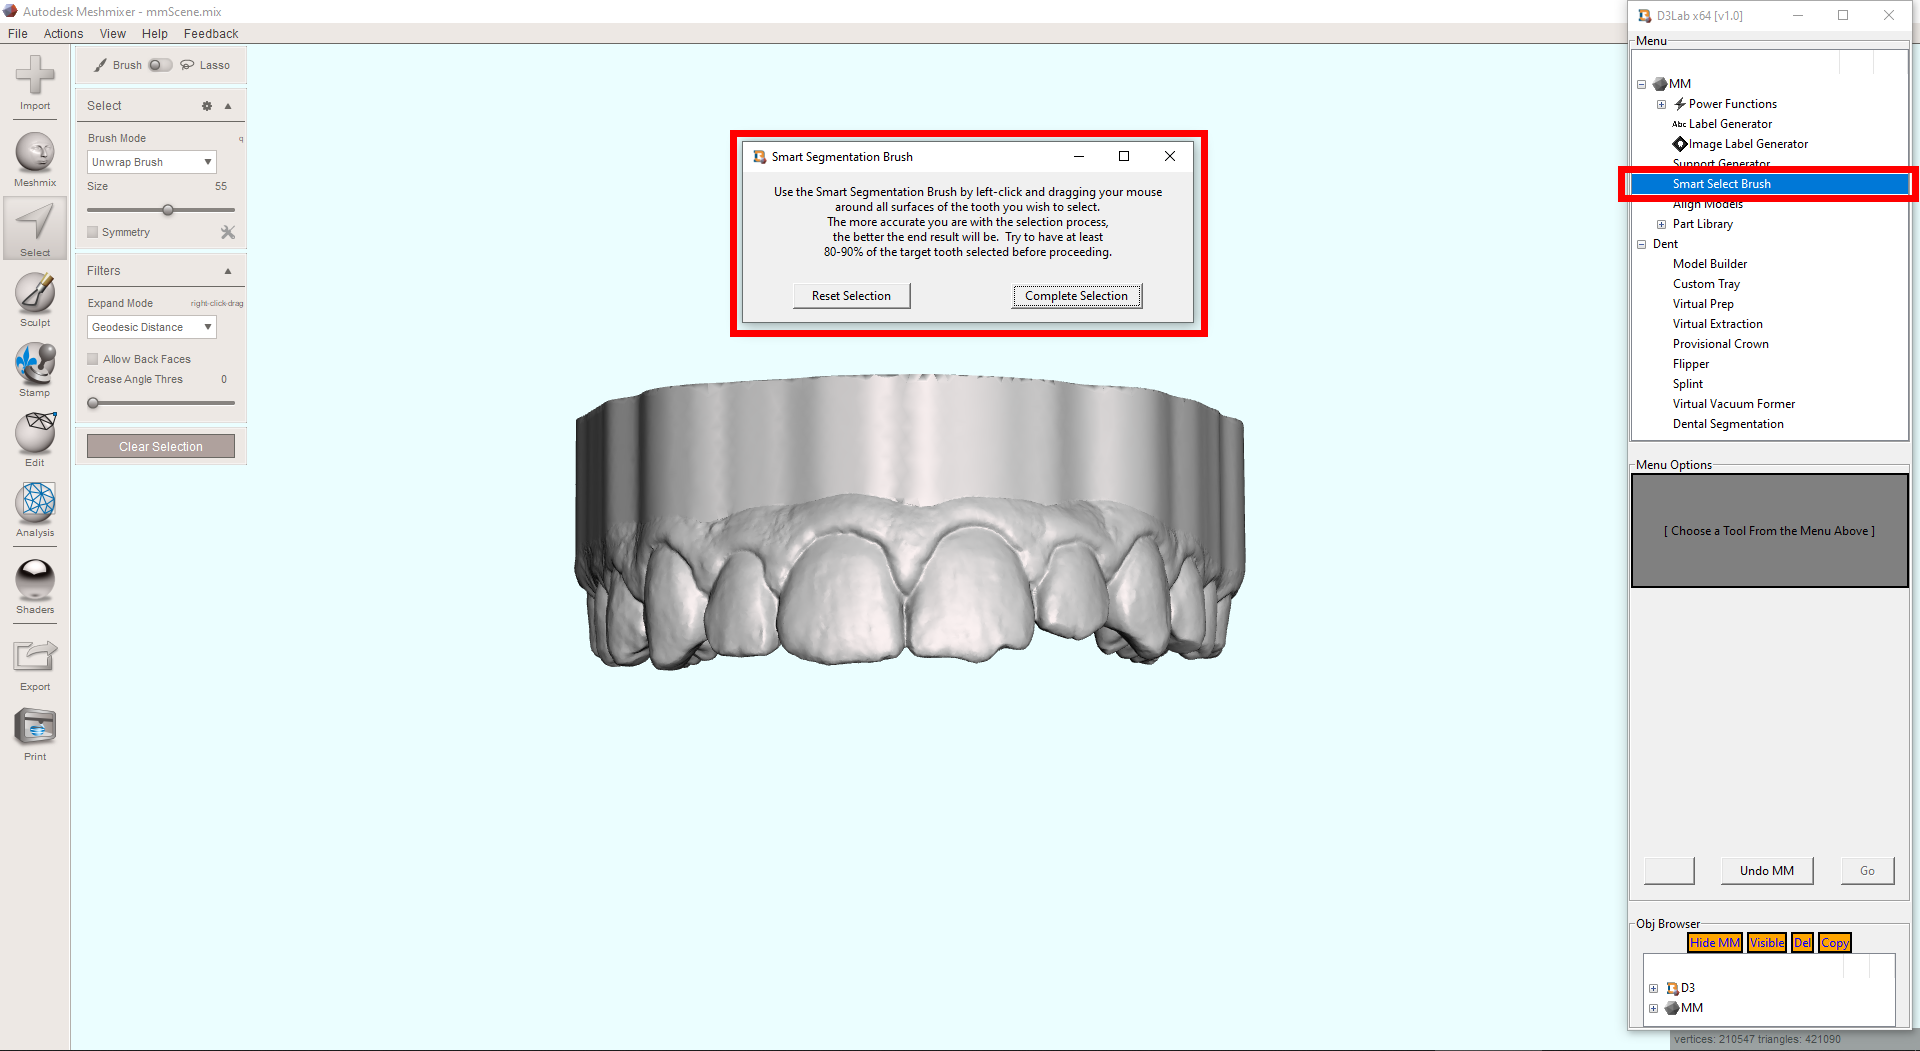
This means that the “Smart Select Brush” is something that can be used at any time, even if you are currently in the middle of a different tool that requires steps, so feel free to click on it at any time and you will not lose your progress.
Smart Select Brush – Making the Selection – [Step 2]
Once the pop up window is displayed, you are given two options in the form of buttons:
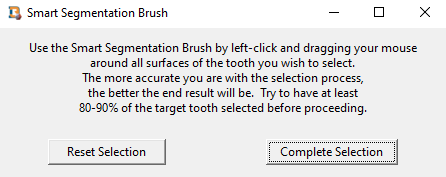
- Reset Selection – Clears the current selection and resets the “Smart Select Brush”.
- Complete Selection – Completes the selection and generates a single face group for that selection. Ensure you have selected at least 80-90% of the target tooth with the “Smart Select Brush” before pressing.
Either option implies a selection has already been made, so the first thing to do is to start making your selection on the target tooth by left-click and dragging the grey sphere around the tooth. The resulting orange selection will look spotty and patterned, but it should only be within the margins of the target tooth. If you happen to over select the margin of the tooth, you can either press “CTRL-Z” on your keyboard or hold “CTRL” on your keyboard while left-clicking to remove from the orange selection. Once you have approximately 80-90% of the target tooth selected in orange, press the “Complete Selection” button on the pop up window from before:
The tool finishes by automatically filling in the rest of the selection and smoothing the borders to produce a single face group that represents that tooth separately from the rest of the object.
Smart Select Brush – [Advanced]
The “Smart Select Brush” is not constrained to only selecting individual teeth. It is possible to use the “Smart Select Brush” to select multiple teeth at once, however, it will not distinguish each tooth independently and the end result will be a singular selection of multiple teeth (note the slight gingival tissue that got included as well):
While it is true that this selection brush is fine tuned to differentiate the border geometry of teeth, it is also true that it can work well for many other types of similar geometries. For example, this brush could be used in the exact opposite way by targeting only the gingival tissue instead of the teeth, which is helpful when selecting a tissue-borne base for a removable appliance:
This tool would likely be helpful for other type of CAD work outside of dentistry and medicine as well, where manual segmentation of a geometry from the rest of the model is necessary.
Here are some videos that demonstrate how the tool works:
Video 1 – How to use the Smart Select (Smart Segmentation) Brush in D3Lab x64
At the completion of this lesson, you should be able to:
- Understand how this tool runs differently than those with iterative steps
- Manually segment individual teeth from a scanned dental arch
- Understand what a face group is