In this lesson, you will learn:
- How to use the Text Label Generator tool in D3Lab x64
- When and why to use the Text Label Generator tool
Preface
Sections
- Starting the Tool
- Using Previous Text Labels
- Entering the Text
- Allow Mouse Control Prompt
- Set Location of Text Label
- Finalize Text Label
- Advanced Usage
Demonstration Videos
Tool Parameters:
- Place Existing Label – This button appears upon initial load of the Text Label Generator tool, and allows you to bypass the entire tool if you have already created a label that you want to use. All text labels created with the Text Label Generator tool are stored within Meshmixer under the category “_Labels”.
- Label Text – The text you want to emboss on your 3D object.
- Emboss Outwards – The text will protrude outwards instead of inwards. Currently only outwards embossing is possible, so the ability to change between outward and inward is temporarily disabled. It is, however, on the implementation list for development.
- Load Image File – If you want to make an image label instead of a text label, you can click on this button to initialize the Image Label Generator tool.
- Finish – At the very end of the tool, after you are done adjusting the size, location and rotation of your text label, pressing this button will finalize the placement on the model.
- Export – This button is presented at the end of the tool and gives you the option to export your current model, if this is your last step before printing.
Text Label Generator – Start Tool – [Step 1]
Starting any of the tools in D3Lab x64 begins with clicking on the tool name in the top “Menu” panel. The initial options are presented to you in the Menu Options section after clicking on the tool name:
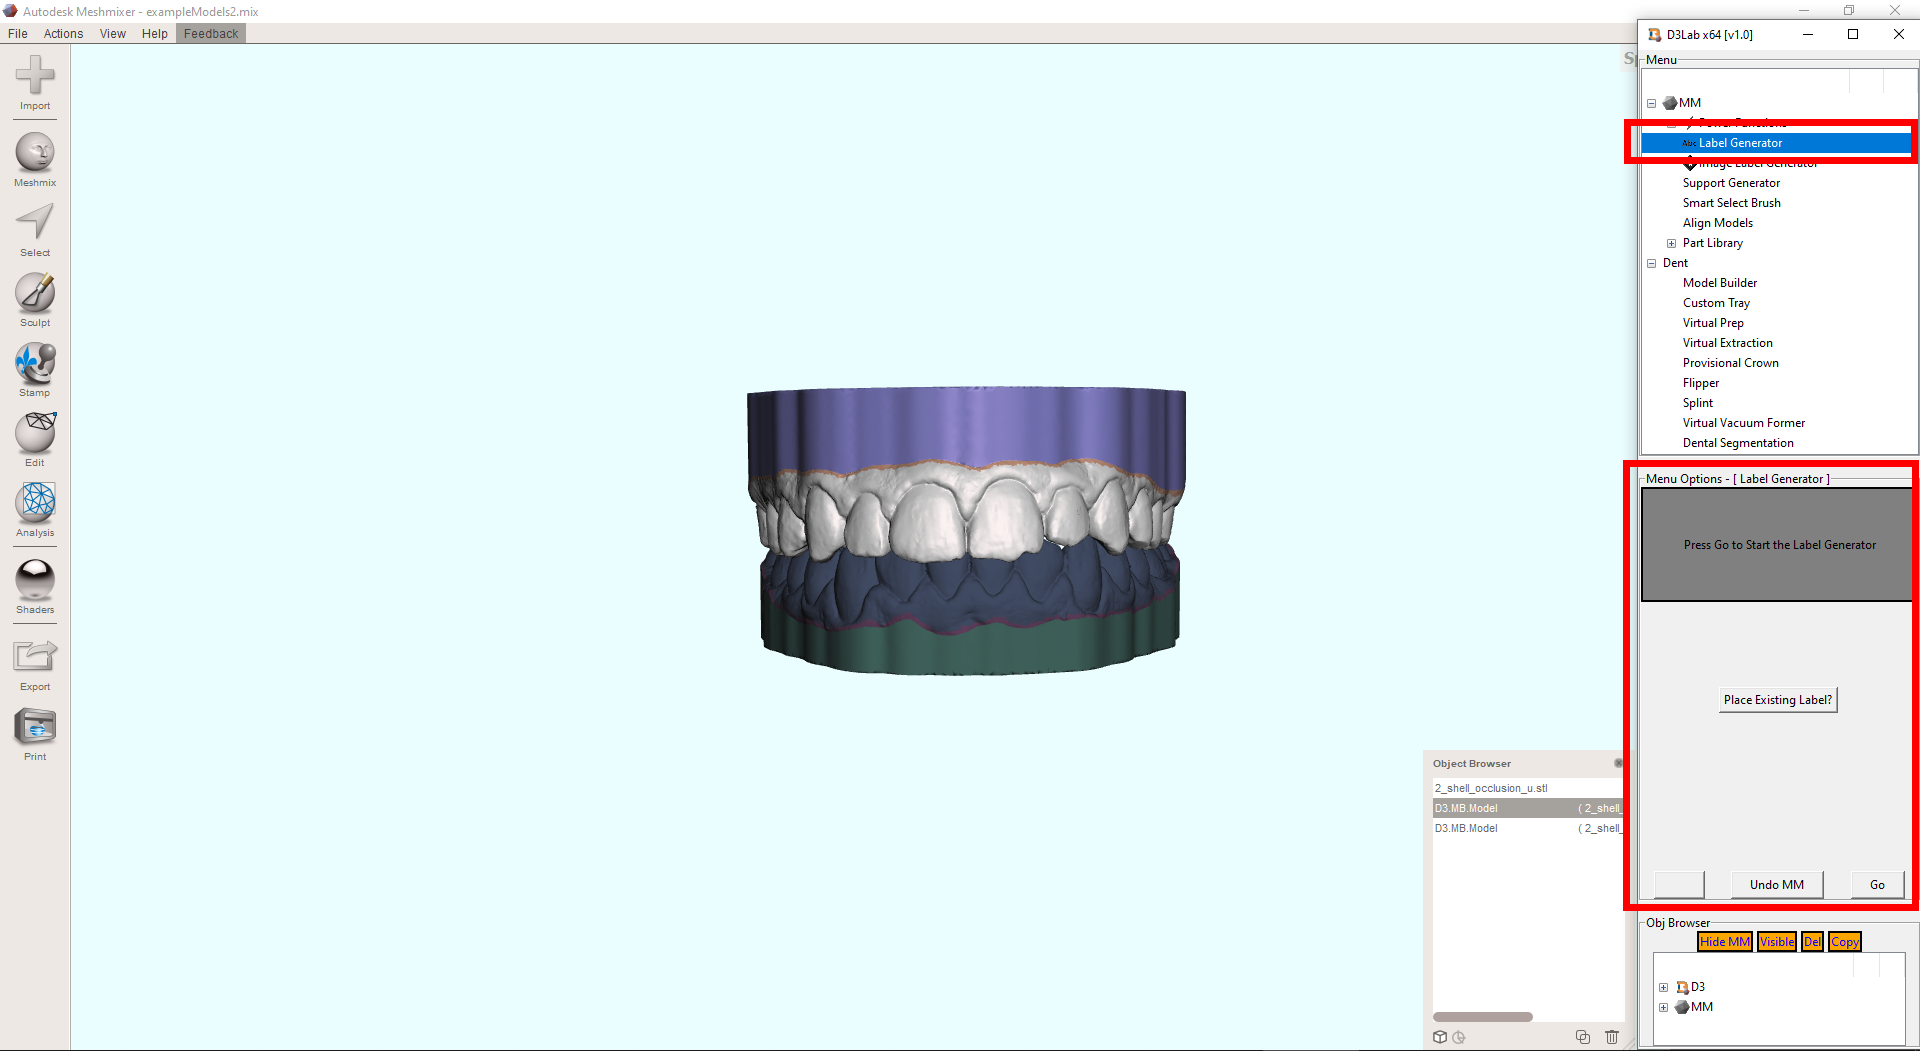
To create a new text label, make sure the model you want to emboss is loaded and selected in Meshmixer, then press “Go” in D3Lab x64.
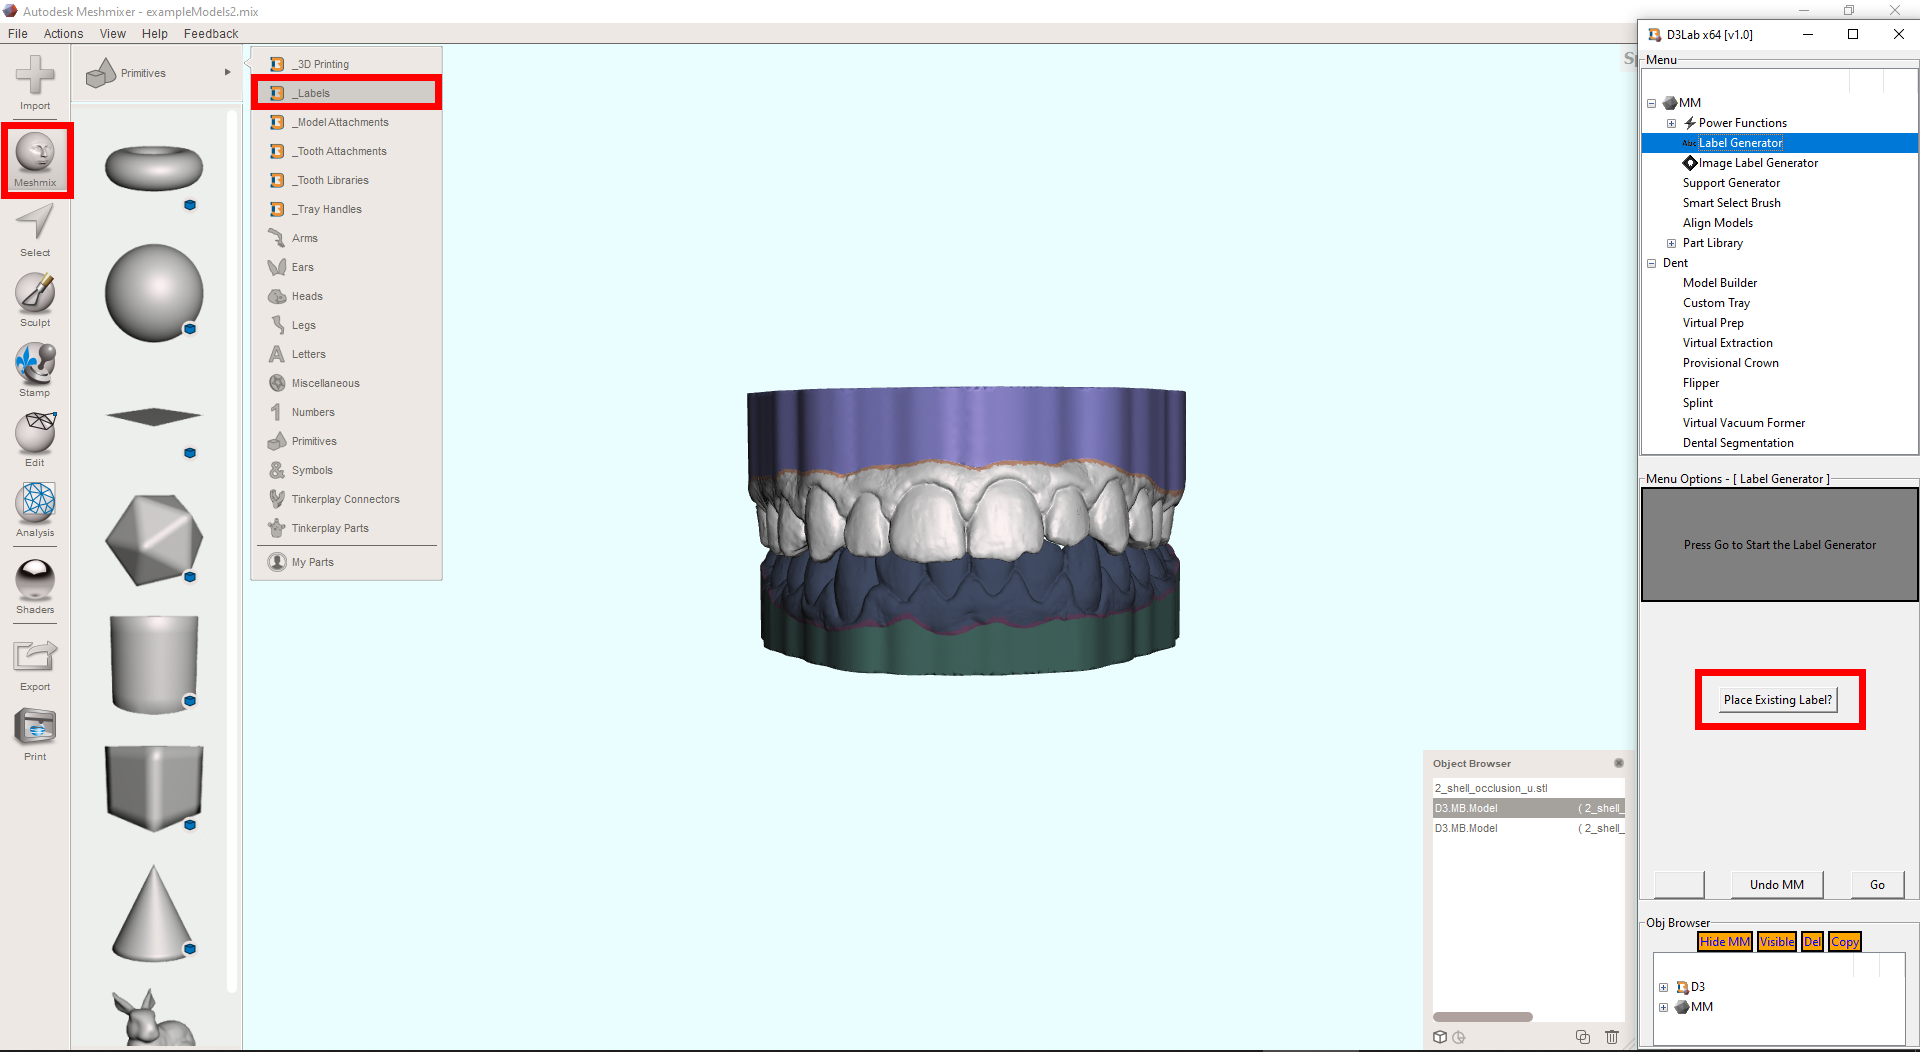
Text Label Generator – Using Previous Text Labels – [Step 2]
The only initial option available for this tool is the button “Place Existing Label?” which opens up the “_Labels” category of the Part Library and allows you see all of the previous text labels you have created. You can simply drag and drop an existing label by left click and dragging the existing label onto your model (please note it is necessary to restart Meshmixer in order to see the text labels made during that session show up in the “_Labels” category):
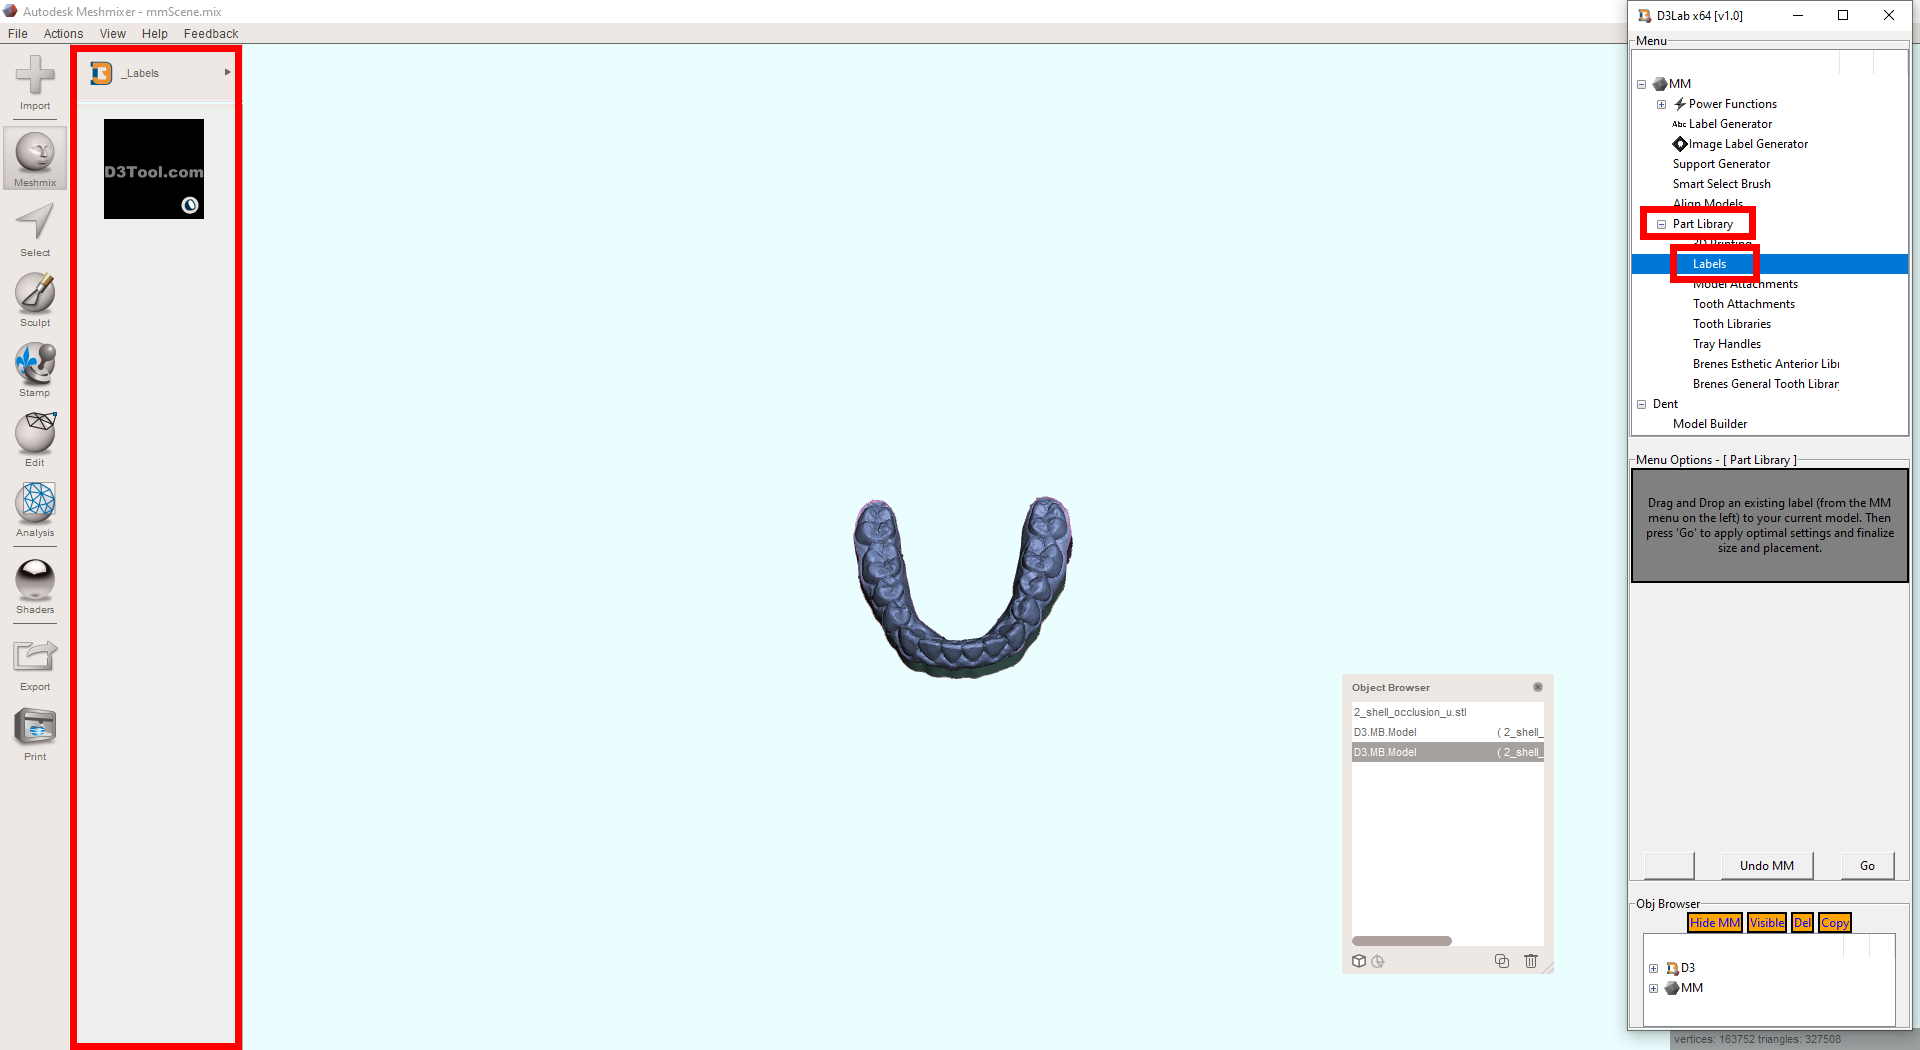
You can also access the previously made text labels by expanding the “Part Library” list in D3Lab x64, and clicking on “Labels”:
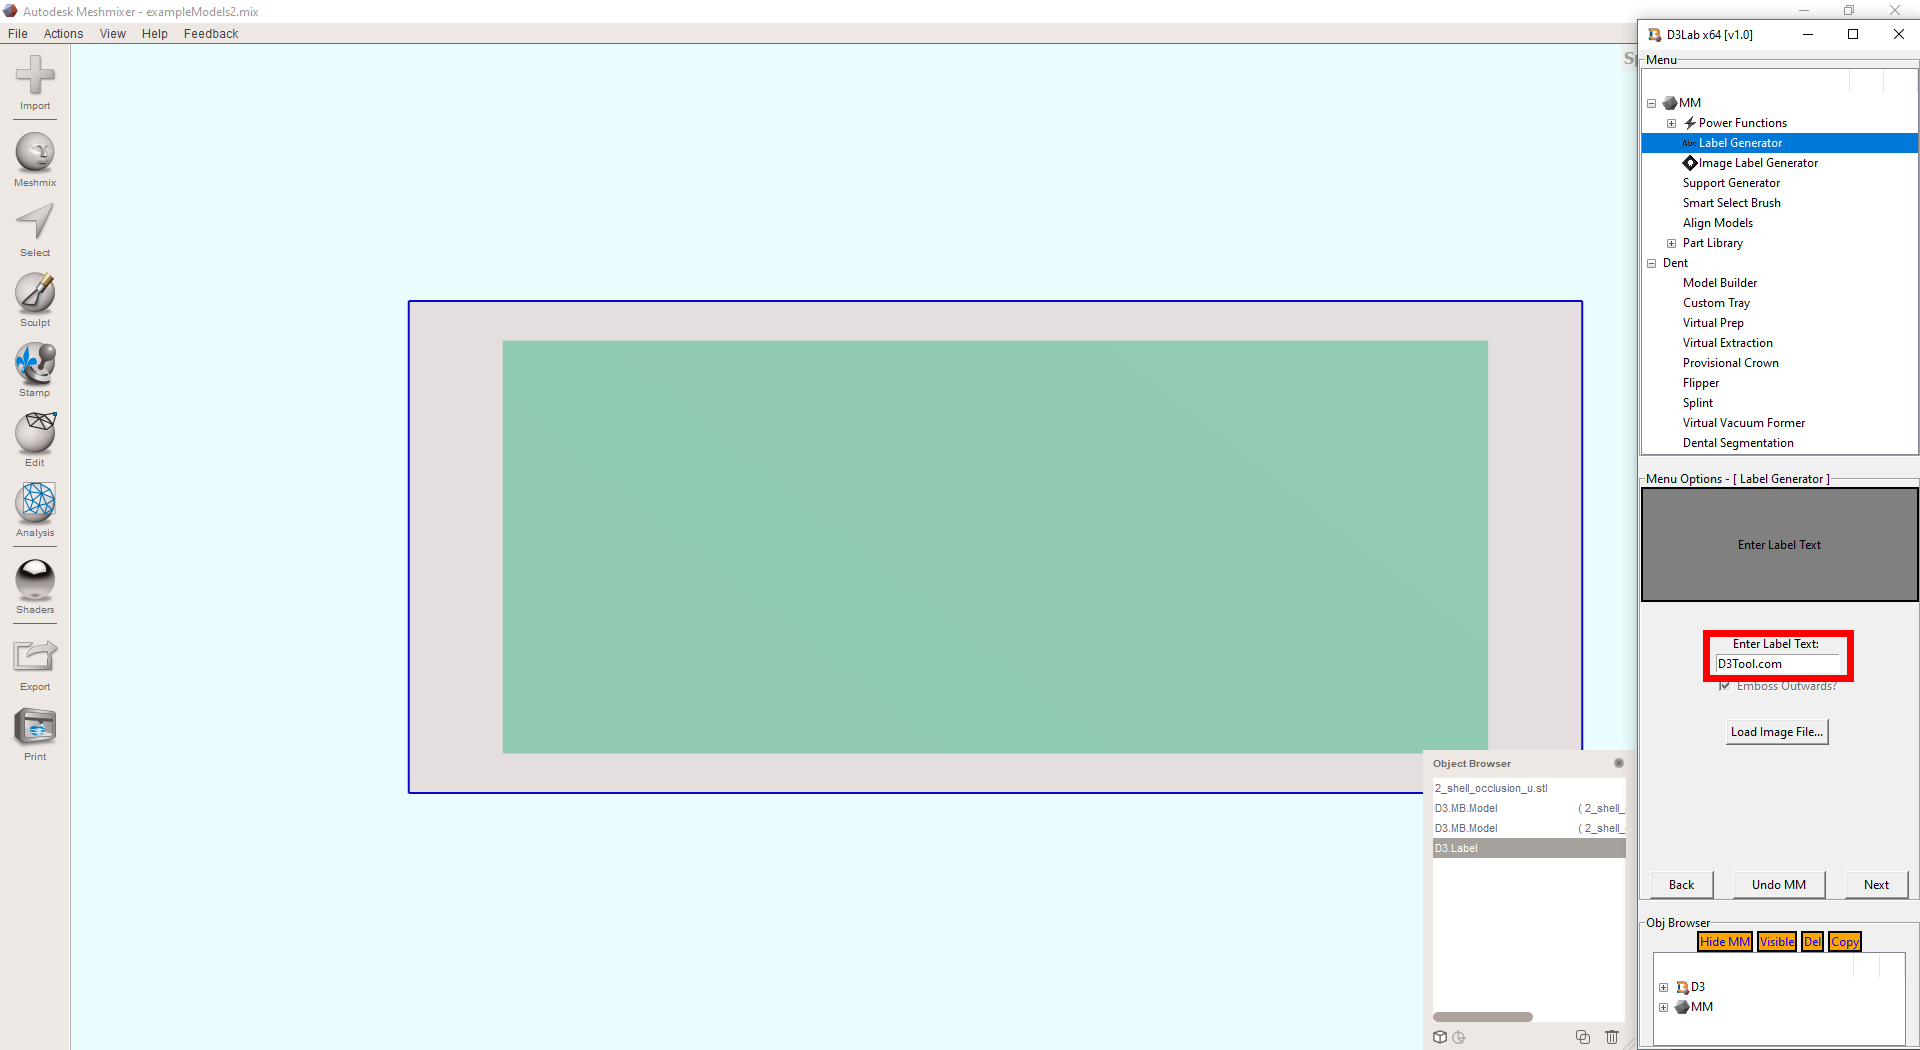
Text Label Generator – Entering the Text – [Step 3]
Again, to create a new text label, make sure the model you want to emboss is loaded and selected in Meshmixer, then press “Go” in D3Lab x64. A blank rectangular label is automatically loaded into Meshmixer, and you are asked to enter the text you want to emboss on your model. Simply type the text and press “Next”. Consider using multiple separate text labels if you have a lot of text you want to emboss.
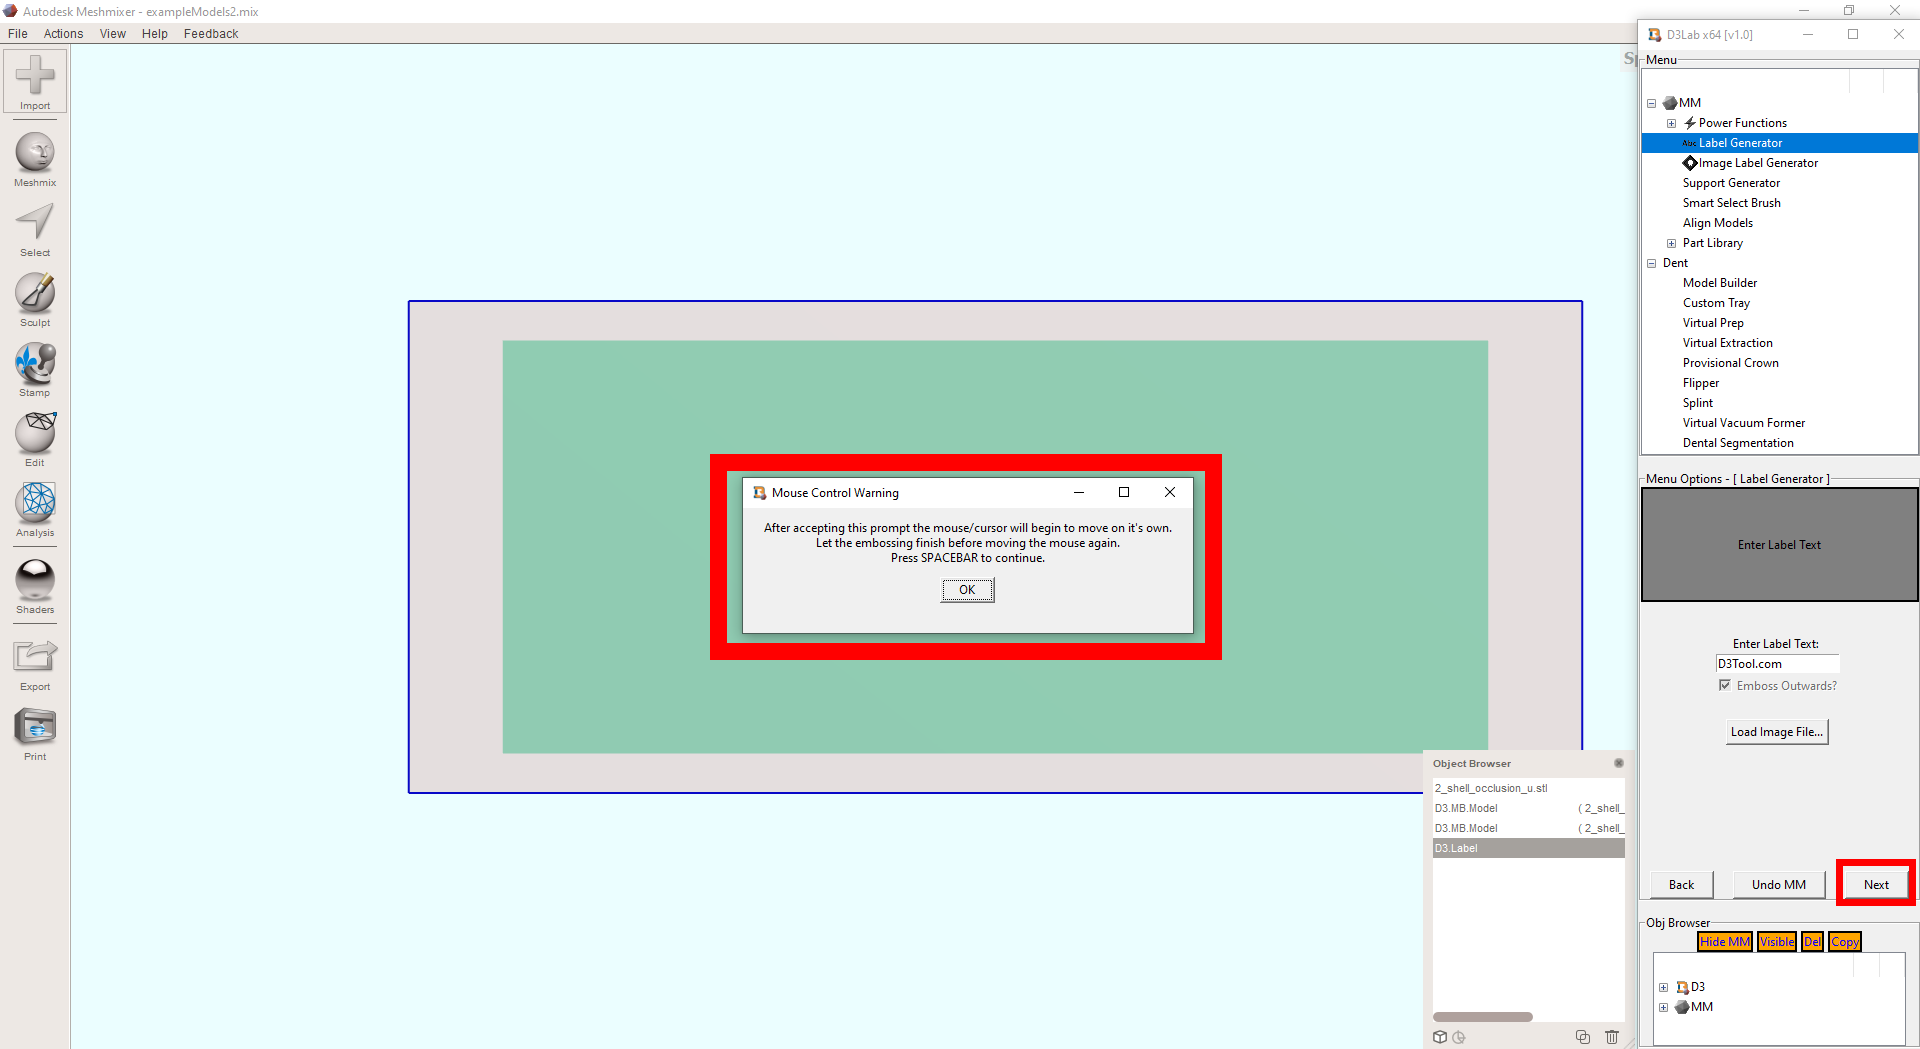
Text Label Generator – Allow Mouse Control Prompt – [Step 4]
In order to create a text label, D3Lab x64 will need to temporarily take control of your mouse to do some automated precise clicking on your behalf. A pop up prompt will be shown in the center of your screen asking permission to do this. To avoid any accidental clicks, it is suggested and recommended to simply press the Spacebar key on your keyboard to accept the pop up prompt and to begin generating the text label.
Text Label Generator – Set Location of Text Label – [Step 5]
You are now asked to choose where on the model you would like the text to be placed. Single left click on the model to mark it with an orange spot and then press the “Next” button to proceed.

Text Label Generator – Finalize Text Label – [Step 6]
You now have the opportunity to adjust the size, location and rotation of the text label if indicated. To adjust the size of the text, left click and drag the triangular tab on the outside of the circle next to your text. To adjust the location, left click and drag the white sphere in the center of the circle. Lastly, to adjust the rotation of the text, left click and drag inside of the circle. Once satisfied with size and placement, press the “Finish” button in the Menu Options of D3Lab x64 to merge the text label onto the model.

Text Label Generator – [Advanced]
If you have a lot of text you want to include, consider adding multiple text labels for betting sizing and alignment. It also makes sense to generate some template text labels like:
- “Patient Name: “
- “Date: “
- “Dr. “
- Numbers 1-20 for aligner organization
This way you can easily utilize existing labels as well as new labels to include the information you need in the fastest way possible.
Here are some videos that demonstrate how the tool works:
Video 1 – Emboss Any Image/Text on Dental Models and How to Generate Supports for 3D Printing
At the completion of this lesson, you should be able to:
- Understand how to create your own text labels
- Understand how to access previously created text labels
- Know how to adjust the size, location and rotation of the text label being embossed on the model